Camtasia is a downloadable video editing software that is perfect for tutorial videos such as this How to Navigate Camtasia tutorial (see the tutorial video lower down) or just read on to the end. Even with no editing experience it is possible for a beginner to make professional videos using the features in Camtasia from one’s computer.
Every feature is accessible from the Camtasia interface and navigating is straightforward as you will see here in this tutorial. So let’s crack into it!
This screenshot is showing the entire interface of Camtasia and where the building out of your video project takes place.
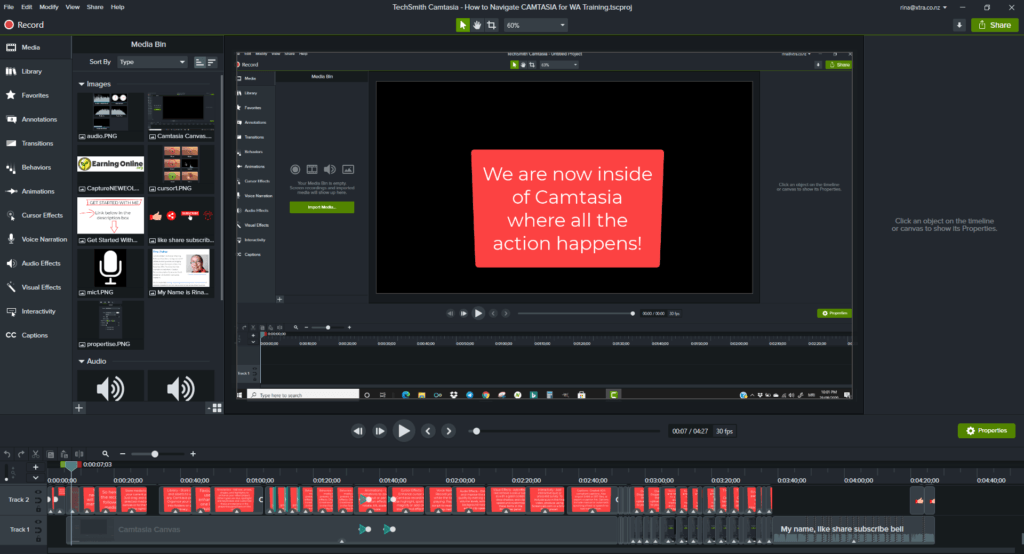
So let’s get navigating starting with the menu panel on the left starting from the top.
Contents
Record

Camtasia records your computer screen including system sound so whatever is showing on your screen it will record. The recording area can be changed to the size you want if you do not want to record the whole screen.
Media

You can store media to use in your current project, just by dragging and dropping the selected media to the canvas or to the timeline area at the bottom of the interface area. Media can be images and even other videos. This area is where you have all the items you intend to have in your project whether you use them or not for convenience.
Learn How to Start Your Own Fun Blog using My 4 Step Formula
Library

Again you can store media and assets to use in any Camtasia project and not just the one you are working in, to organise your assets into folders or a new Library. Useful for Intros and Outros and things you repeatedly use in several projects.
Favourites
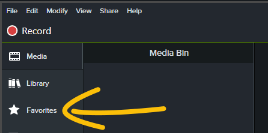
Save useful video enhancements in one location for quick access. Again this could be any digital asset that you favour over others and can quickly access it without browsing through loads of items over and over.
Annotations
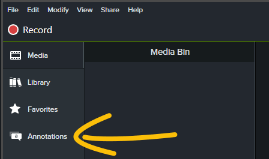
Annotations are items that really add a zing to your video tutorial projects such as text, arrows, shapes, and highlights to enhance your video project. It also includes types such as blur, spotlight and keystrokes and they can each be customised in the properties panel on the right of the video interface. Great for drawing the viewers attention to parts of the screen or hiding an area as with a blur.
Transitions
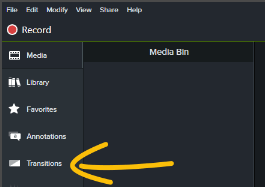
Add animated transitions to the beginning, end or in between your media to indicate the passage of time are great features to have as they add flare to your video tutorial projects.
Behaviours
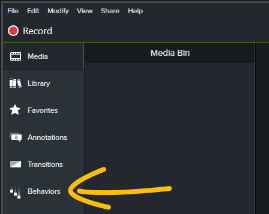
Liven up your text and media with animation presets that are combined for unique effects. Drag and drop any Behaviour feature onto the timeline or canvas to include it in the final video. Again each Behaviour can be customised in the Properties panel to the right of the interface.
Read a Full Camtasia Review Here
Animations
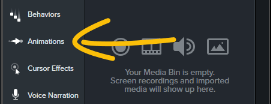
When you really want to shoosh things up then use animations to zoom in, zoom out or pan. Then add motion effects to rotate, tilt, scale and much more. This is a favourite feature for video tutorial creators as it adds an extra feature to emphasize any element on the screen.
Cursor Effects
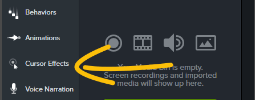
Enhance cursor in Camtasia recordings. Use highlight, spotlight, magnify or add click sounds and effects…
Voice Narration
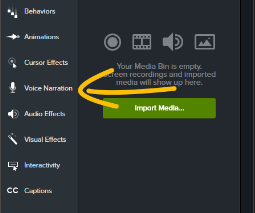
Voice Narration – Record your voice while the timeline is playing. Paste text or script to read aloud for easy narration.
Audio Effects
Audio Effects – Enhance and improve the audio quality by evening out the volume levels, removing background noise or adjusting clip speed.
Visual Effects
Visual Effects – Add effects like remove a colour such as with a green screen, drop shadow, and clip speed and customise these items in the Properties panel.
Interactivity
Add interactive quizes or an unscored survey. To include a quiz in the final video, produce using Screencast.com or a Smart Player preset. Learn more here.
Captions
Create ADA compliant captions and also import SAMI or SRT files, or export a caption file. Your options include manual or automatic synching of text or speech-to-text transcription.

Above in the right corner of the canvas and in the Properties panel you have the Share button to upload your finished video to Youtube for example or other preferred location.
Editing Menu

Use the edit mode above the canvas area to move, resize and rotate media inside the canvas. Or use pan mode to drag the canvas around for a better view. The media item will retain it’s position and size when panning. Canvas editing is disabled while in pan mode.
Timeline Panel

The building blocks or media of your Camtasia projects live here in the timeline panel. The Tracks are moved, divided, cut and edited within the timeline.
Properties Panel
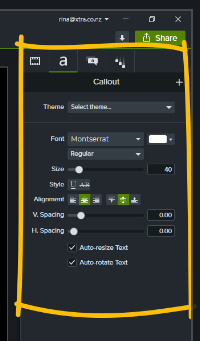
Finally the Properties panel is where media is edited such as colour, size, font, spacing, alignment and so on.
This covers the navigation part of Camtasia. If you have any questions please use the comment box below and I will get back to you withing 24 hours.
Rina
Learn How to Start Your Own Fun Blog using My 4 Step Formula




Hello there! Thank you very much for sharing this wonderful article on how to navigate camtasia. I find it very helpful as it contains valuable information. As a vlogger, camtasia app would help a lot. The issues I’ve had with video editing apps for my blog is how to navigate the apps. I’m really glad that a good one like camtasia is this easy to navigate through. Thanks a lot.
Hiya Sophie! Thanks for visiting and commenting regarding Camtasia. Tools like Camtasia are useful for sure to bloggers and vloggers and the editing tool essential for giving a professional look and feel to any video project and to video tutorials in particular. I especially like the use of annotations to highlight a point or direct the eye to a point on the screen for example. If you do go ahead to purchase Camtasia, then there is plenty of support from the TechSmith team too.
Wow this is really a great PC software application. It is fully enriched with lots of great and amazing effects. There aren’t so many apps like this. I think this is actually one of the best I’ve come across so far. But then I’d like to know, is there an in-app purchase for this software?
Hiya and thanks for your comments and question! I strongly suggest you avoid purchasing from the Mac Store for example as Apple have restricted some functions and you can even end up paying more. So, purchase from here instead to ensure you receive upgrade discounts from the TechSmith site.